

Getting Started
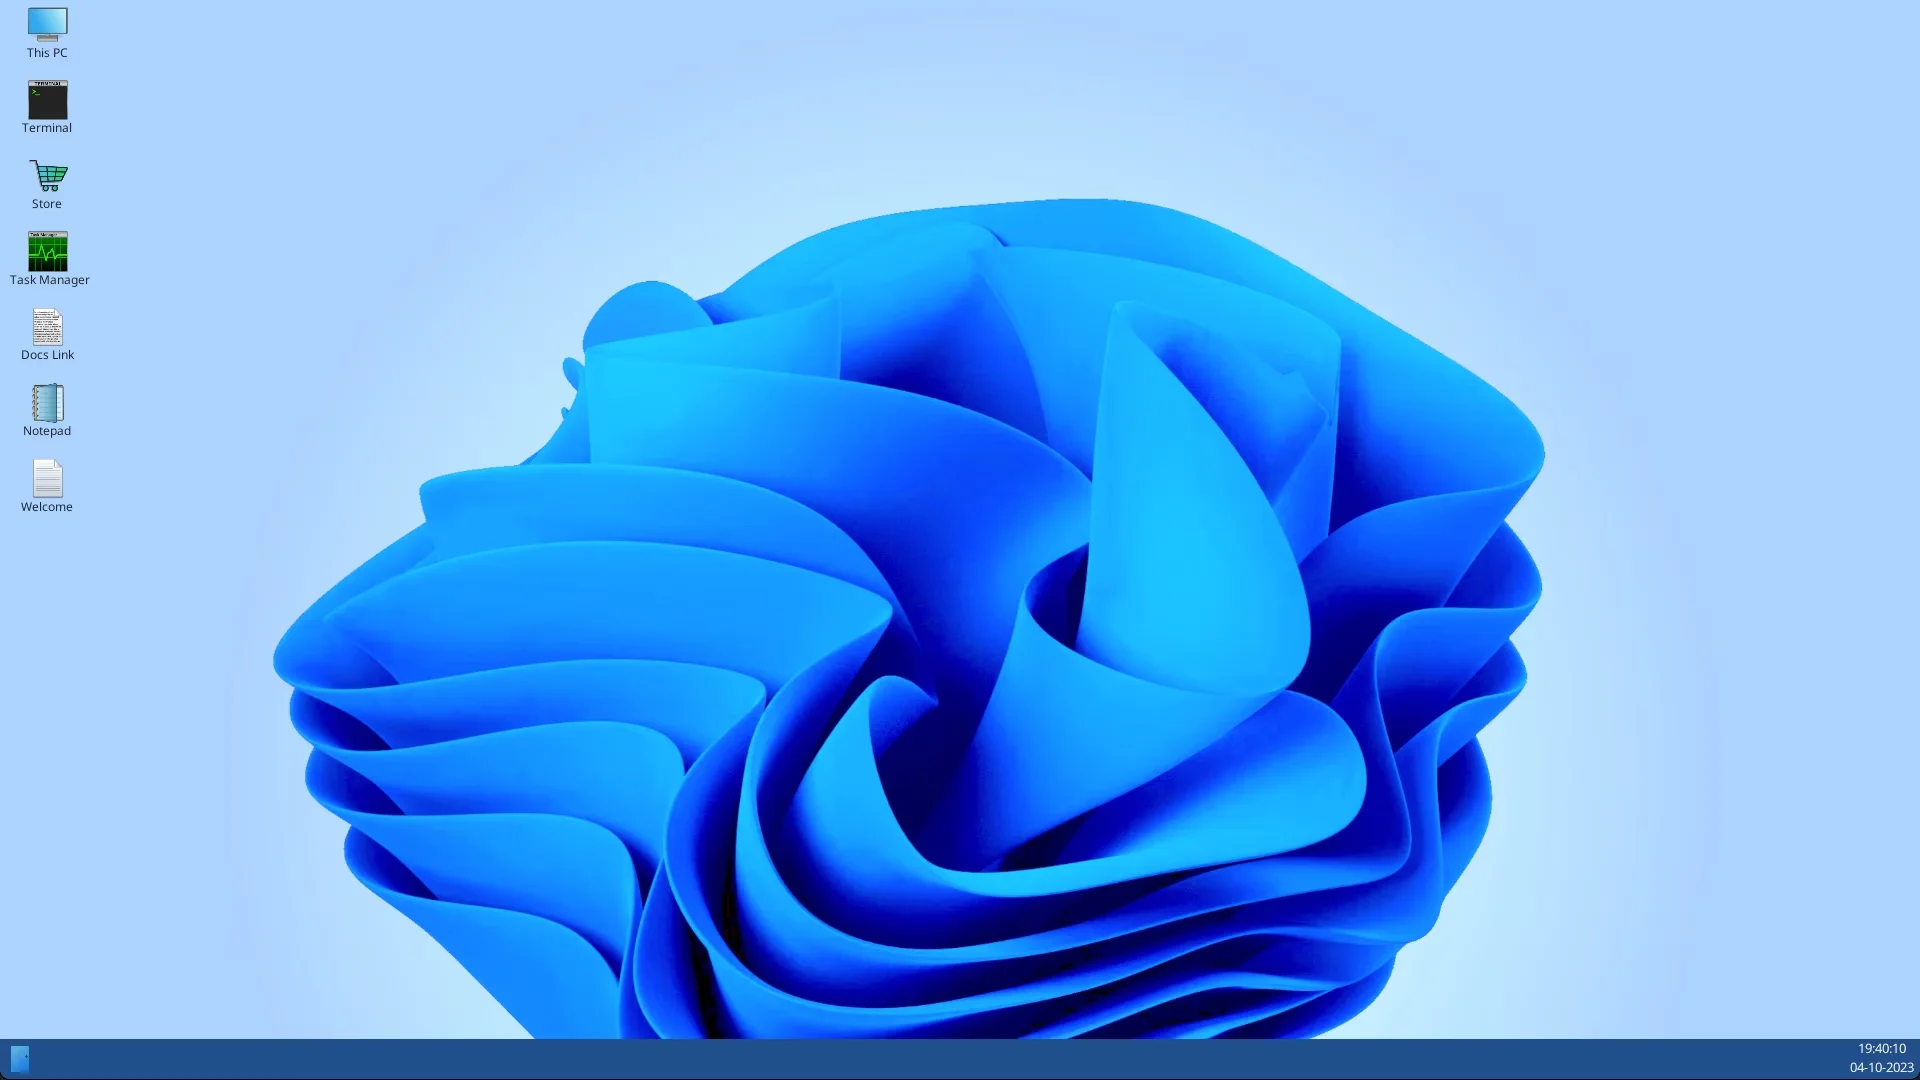
Operating System Simulator adds a full simulated OS — programs, terminal, filesystem, store, and hardware boot flow — to your Unreal project. This page gets you from install to a running demo in the editor.
flowchart TB
  subgraph row1[" "]
    direction LR
    Install["Install Operating System Simulator"] --> Enable["Enable in Edit → Plugins"] --> Build["Generate VS project files + Build"]
  end
  subgraph row2[" "]
    direction LR
    Content["Show Engine Content + Show Plugin Content"] --> Demo["Open DemoMap"] --> Tutorials["Follow Tutorials overview"]
  end
  Build --> Content
1. Install and enable
Section titled “1. Install and enable”- Install from Fab / Marketplace.
- Enable Operating System Simulator under Edit → Plugins.
- Restart the editor.
If you see module ‘GlobalCore’ could not be found, build the project once:
2. Enable plugin content
Section titled “2. Enable plugin content”The plugin ships demo maps, hardware, programs, and UI under engine plugin paths.
-
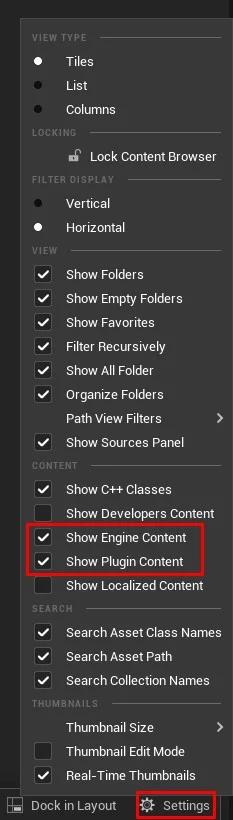
In Content Browser → View Options, enable Show Engine Content and Show Plugin Content.
-
Open DemoMap:
Plugins → OperatingSystemSimulator → OperatingSystemContent → Demo → Maps
→ Try the demo map tutorial
3. Editor preference
Section titled “3. Editor preference”Disable Use Less CPU when in Background (Editor Preferences → General → Performance) so timers and boot sequences run reliably in PIE.
4. API documentation
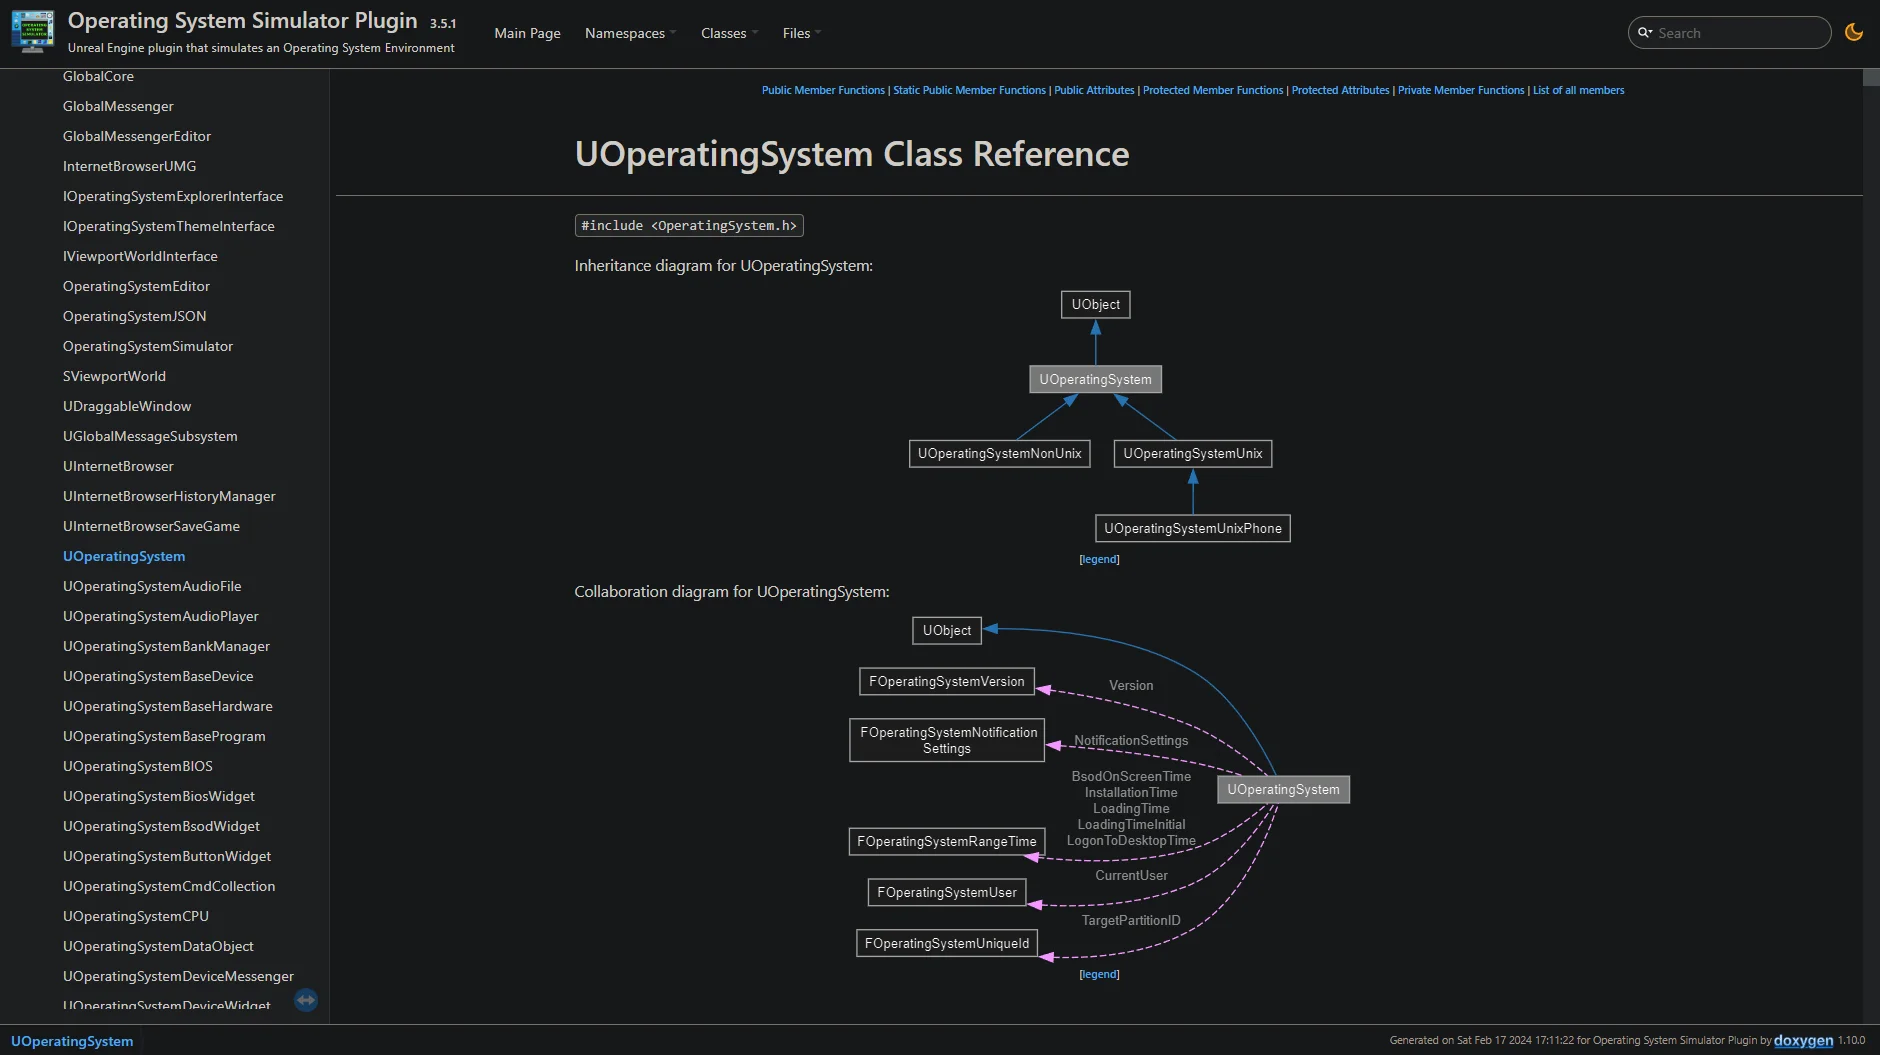
Section titled “4. API documentation”The Operating System API reference documents classes, functions, and inheritance — browse from the API Reference tab.
| Guide | API |
|---|---|
| Blueprint Reference | Common nodes and parent classes |
| C++ Reference | Modules and headers |
| Plugin Classes | Architecture overview |
5. Build your own OS
Section titled “5. Build your own OS”Follow the Overview series:
Support
Section titled “Support”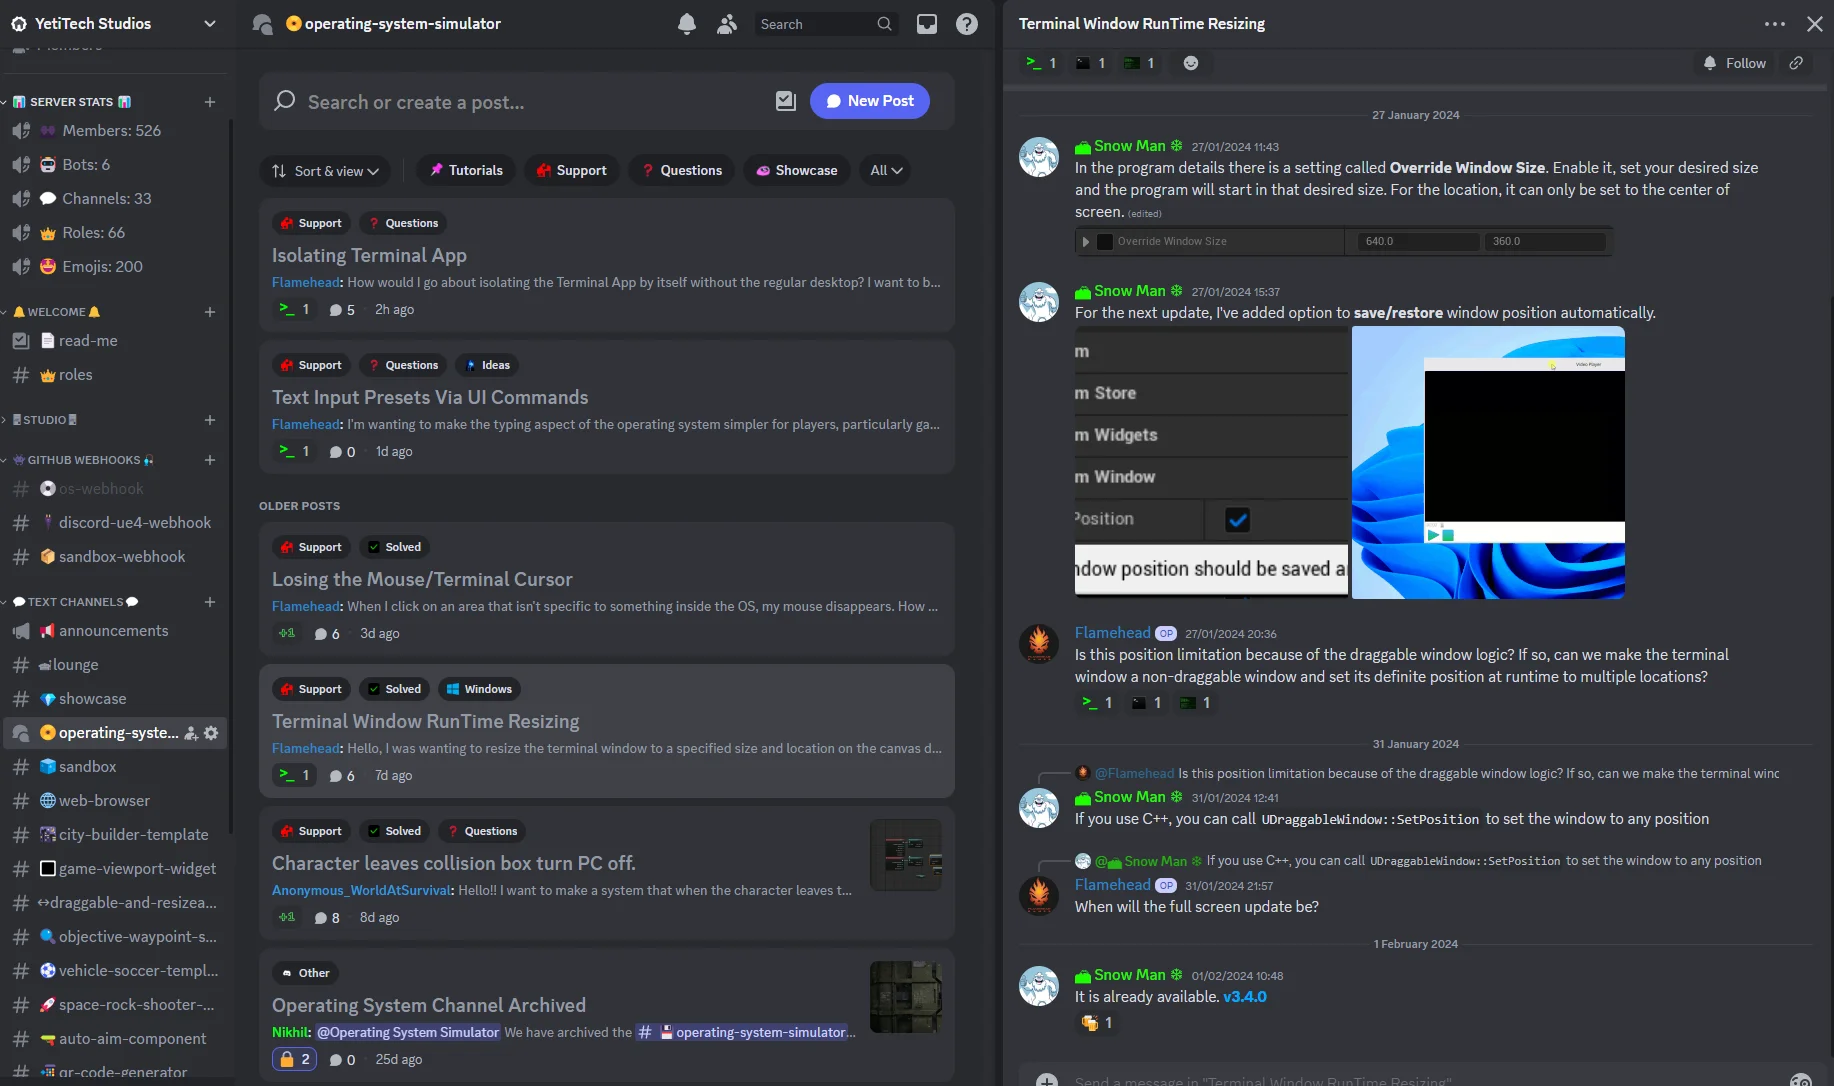
For custom plugin work, contact us via our website.